Designing a great blog is more than just about creating a pretty website. You would have to think of ways to improve its SEO (Search Engine Optimization), the business model of how you monetize and most of all, writing well-researched content that is helpful to the general public.
The Struggle
Some spend too much time focusing on their blog appearance rather than creating new content. (I was also guilty of this. 😅)
Designing a website can be sluggish when you have too many lines of code to type, trying out different styles that fit, or having to learn a new, unfamiliar programming language.
Even if you are good at programming; to build, compile and deploying every time you create new content proves to be a hurdle from creating quality content consistently.
Content Management System
To solve many of the problems caused by this lethargic process, people opt for a Content Management System or CMS. There is a myriad of CMSs out there, such as:
- WordPress,
- Blogger or
- Zyro by Hostinger.
WordPress, the favourite choice for most, is powerful, easy-to-use, SEO friendly and packed with an assortment of plugins. But because of this abundance of functions, they are compacted into a single domain, it becomes bloated and degrades in performance.
That is why developers opt for Static Site Generators such as:
As the name suggests, it generates static HTML sites by predefining its components to maintain consistency. Websites created by SSGs are fast, secure and beautiful, as you can tamper with the code directly.
However, as I mentioned earlier, you would still have to build (type code on a computer), compile and deploy each time you make a post. How would you create a post without all that hassle? Maybe even on your mobile device?
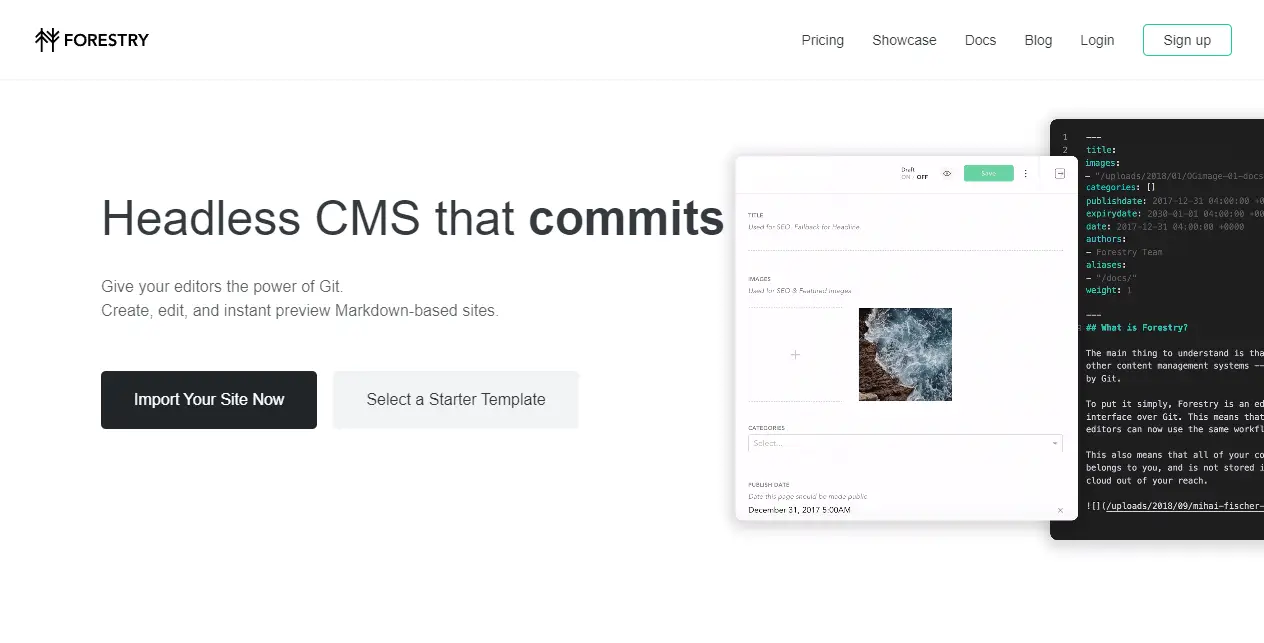
That is where headless CMSs make their entrance. A headless CMS is, in essence, a platform to create content, generate it into static sites and deploy it to your domain. You can have them hosted at different domains or the same one.
For this post, I will share how to create a Hugo blog with Forestry.io, Github and deploy it to a live site with Netlify.
Like this:
Forestry.io
Forestry.io provides the ability to edit all Markdown, JSON, YAML and TOML files in any SSG. I will use the free plan for this tutorial, which can support a maximum of 3 websites. If you wish to have more websites, integrate with a team, better security or other features, you can choose from the paid plans. They are available here.
Go to Forestry.io
- Go to their website and click on ‘Select a Starter Template’.
Choosing a starter Template
- Here you can choose a starter template from your favourite SSG.
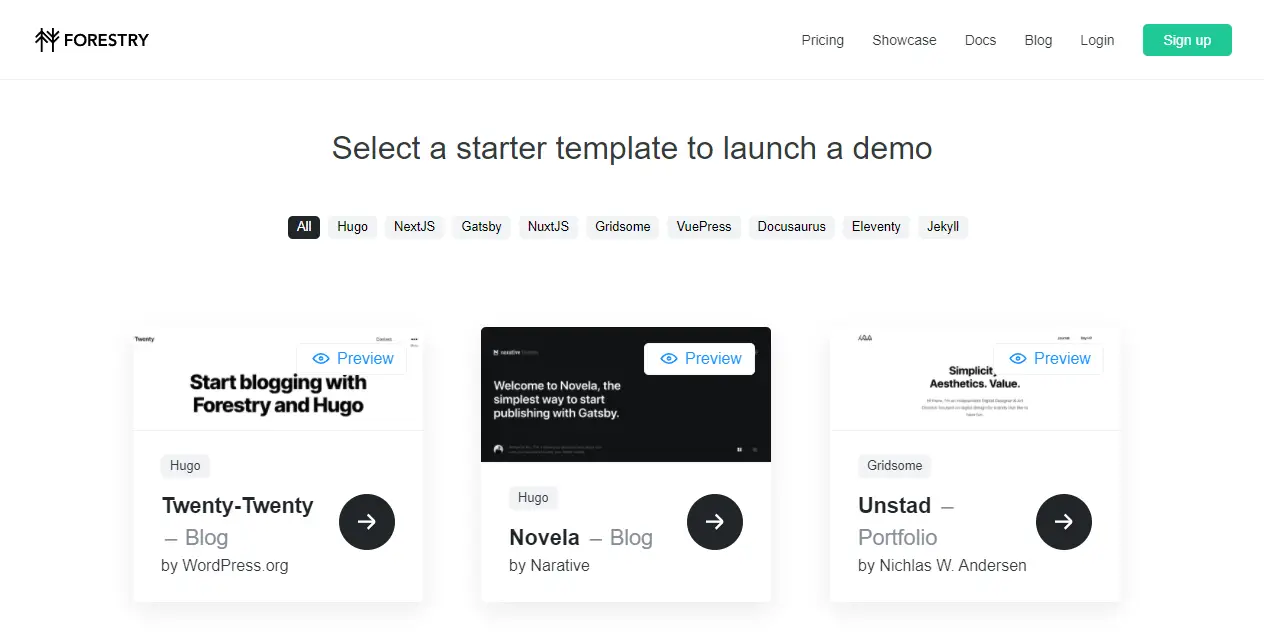
- I will choose Parsa by Themefisher because I think it looks great and filled with core functions of a blog.

Clone repository to Github
- I will use Github for this tutorial. If you have not created an account, go to github.com to create one.


- Congratulations! You have created your first CMS with Forestry.io. You will then be redirected to the dashboard.

Deploy to Netlify
- Let’s go to Netlify to deploy our repository.


Change domain name
- Change domain name.


It will be a subdomain of Netlify in the beginning. For custom domain, go to Domain management to buy a new domain or transfer an existing one.

Update CMS
- Update domain name at CMS
Once the set-up of the domain name is complete, you need to update it in the CMS for all the functions to work. For example, the search function does not work as intended as the BASE URL is not set.

You can change the title and other information here as well, but for now, let us click on Settings.
Since Forestry.io is compiling all the changes and re-deploying our website, the process may take some time to reflect in the actual website after you click Save.
All of your website functions should be working as intended.
Customizing Content
Now you can configure your website to your heart’s desire. Here’s a checklist if you wish to use this theme:
Media
- Remove the old
logo.pngimage and upload your ownlogo.png. This will appear as the logo at the navbar. - Add a
favicon.pngwhich will appear as your favicon in your browser tabs and Google search results. - You can add more pictures here for your website.
Configuration
Click on Params.
- There are two types of layout:
1or2. Choose whichever layout you like best. Remember that it may take some time to see the change of layout after you click Save. - If you wish for to receive emails from the contact form, update the contact form action to a valid URL from formsubmit.io or formspree.io
- You can also set up Google analytics ID to track your website visitors here.
- For the social section, you can provide your social Url and choose from the Web App Icons available here themify.me/themify-icons
- To show your Instagram feed, you would need to get the access Token from the Facebook developer page. You can search on Youtube for a tutorial regarding this or you can disable this feature.
- Adjust all the other fields as required.
Post, About, Contact
These are the main content of your website. Remove all sample content and start blogging anytime you have an idea. You can set anything as a draft before officially publishing your content for the world to see.
This CMS also looks good on the phone. So you can even create posts when you are on the move!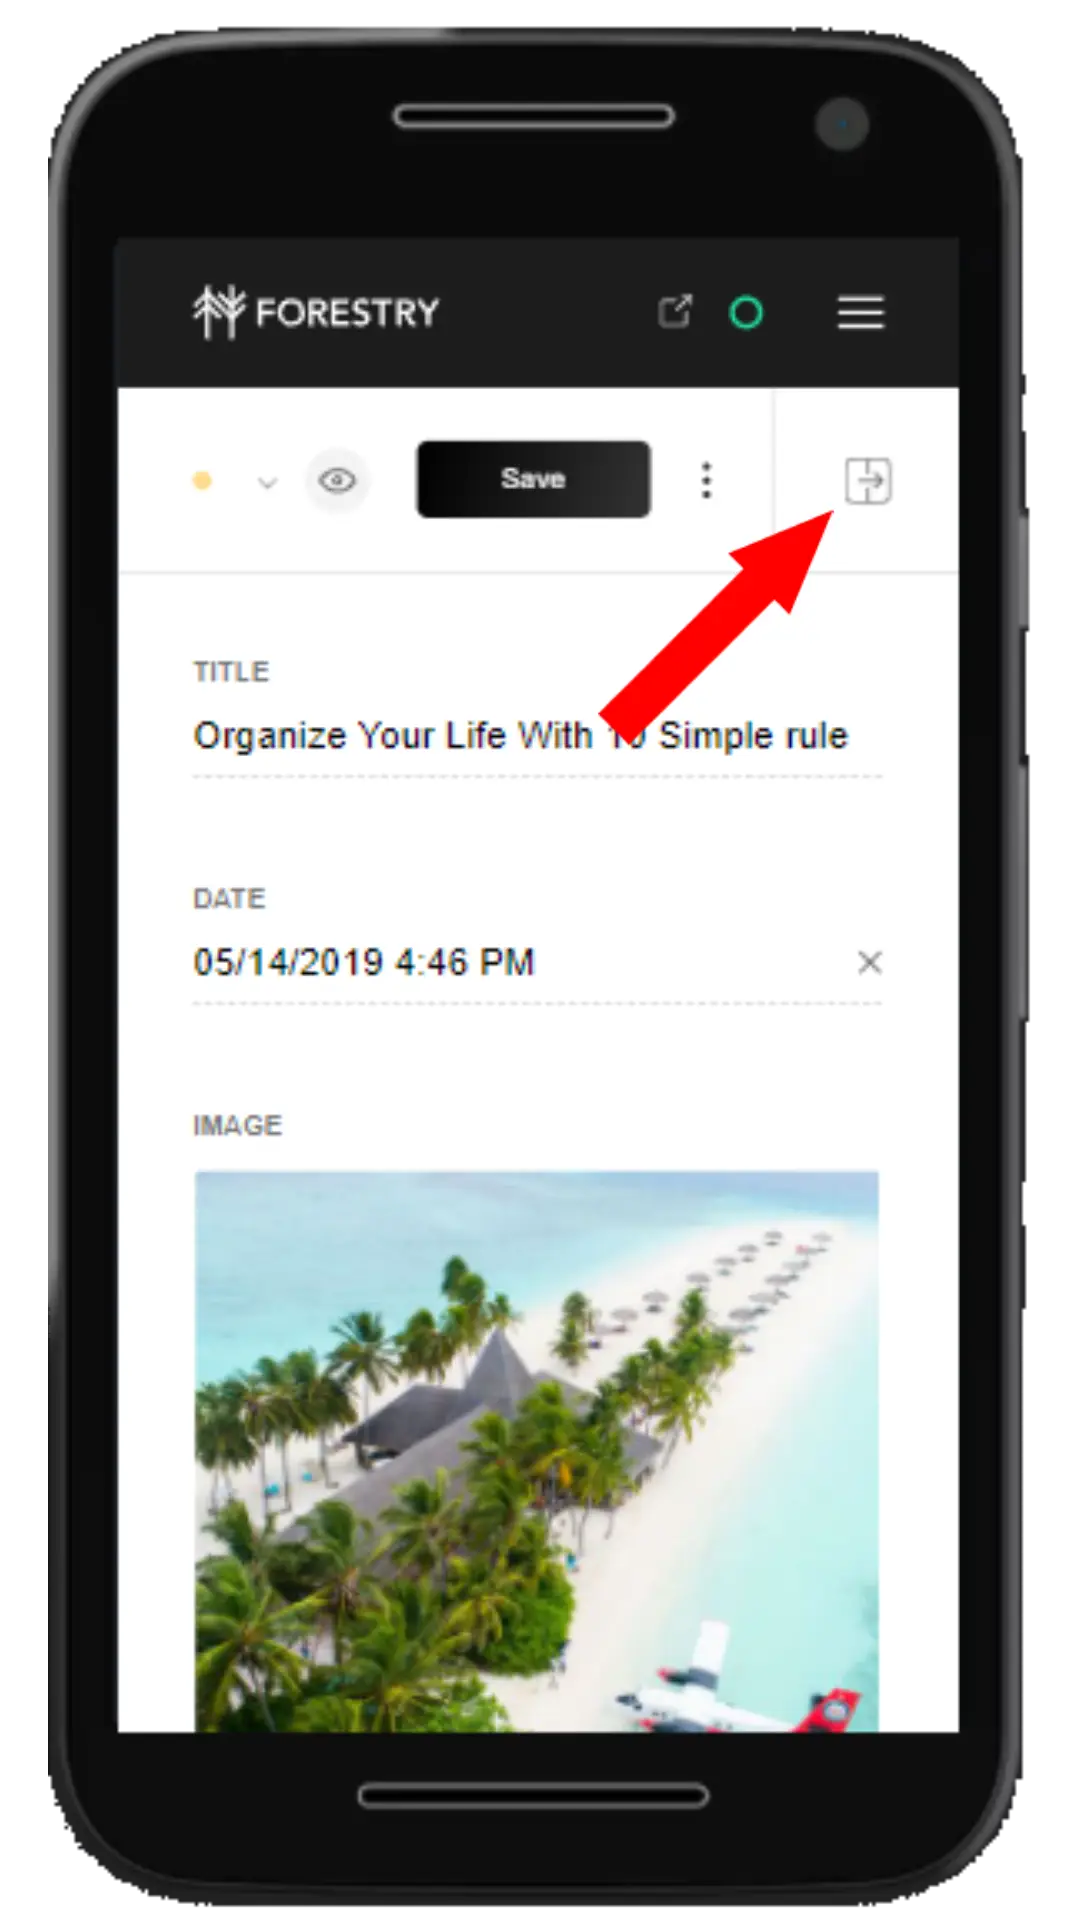
Conclusion
That is how you create a headless CMS with Forestry, Github, Hugo and deploy it Netlify without coding. If you wish to customize your website further (like adding certain shades of colour), you can open your repository in a code editor and push it to Github.
In a nutshell, Forestry.io has made updating your blog so much easier while keeping it fast and secure with Hugo. Are you using Forestry too, or a different CMS? How is your experience? Do share in the comment section here.
Thanks for reading.